DragonsWeb

Welcome to my blog. Please take a look around and enjoy yourself. I hope my work will give you pleasure and inspiration, but please be kind and don't use any of it as your own.

When you have looked, why not leave me a comment, as I value what followers and visitors have to say.


Then pop over to DragonsDream Tag It On and DragonsDarkerSide

Wednesday, 12 January 2011

WOYWW - Jewellery pieces and a Display Project

Hello all... I am having so many problems with my computer connection still and this post has taken so long to sort out. Sorry for the moan and on with "the show" tee hee...!!! Above and below is a set of large mottled beads with additions of cane flowers. They are yummy and linked with silvertone findings and chain.


This set of beads was made with a flower cane I showed at a different time, surrounded with sections of the cane made for the centre of that flower. They are linked on a chain with amber coloured glass beads and the earrings are made like a little liquorice allsort shape... They look really different...

This pendant is a domino, printed with a stamp from a Judikins cube and coloured with alcohol inks. I wrapped it with different coloured wires and strung it on a thicker chain than I usually use.


I made another tree of life pendant with rose gold coloured wire and gold seed beads. It is about 1" in diametre and strung on a copper chain... smaller and more delicate than the first one. I am working on another in gold for my friend Michele's birthday at the end of the month...

This set of pink beads is much smaller than the ones above but using the same clay... The pendant was shaped from the clay and embellished with a clay flower and seed beed. The silvertone flowers are dangled from the earrings too, to match.
This is a closer look at the pendant and earring... so dainty.

These are very different. They are much flatter than any others I have done. You make a round bead, then take a piece of acrylic and roll the bead with it to swirl the colours on the clay. It flattens as you roll and the colours mix like magic!!!

As you can see, I have also added swirled wire top and bottom, and linked with swirls too... There are some wonderful demos on YouTube for these types of beads... some beautiful effects...

Finally, here are the large flower beads I showed at an earlier time.. I have strung them with gold wire and silver bead caps. The earrings are made like liquorice allsorts again, but much larger here!!! the flowers on the beads started from the cane these came from... rolled much smaller...


I trailed a display project in the title of this blog but it's not quite finished as this post has taken so long to put together!!! So I will finish it and put it up shortly... please pop back to see it!!! It is to display the jewellery I have been making, in a glass cabinet in a shop!!!!! YES!!!!!!!!!!!! I have my nails done in a little salon and they have agreed to let me show and sell from their cabinet. We will see how this goes.... Thanks for looking and don't forget to go and look at the other WOYWWs on Julia's admirable blog!!!
Frankie
xx


PS... I have finished the display piece now... painted wth gold and orchid eco paints, with PVA in the middle of the sandwich to crackle!!! It's just amazing to see it work as you heat the second layer of paint...
Next to the drawers is my new storage system for my cut n' dry pieces for the distress inks... I ADORE Ferraro Roche and the little boxes are just right for the size of my pieces... hope that helps those of you who were interested a few weeks ago tee hee!!!

I put a Tim Holtz knob on top and the drawer plates are from the tag die, cut down to fit the drawer fronts... I distressed wit blue patina... I thoroughly enjoyed doing this project.  Cheers from me again!!

Wednesday, 29 December 2010

WOYWW - More New Techniques


 Ever wanting to try new things, I have added a millefiori technique to my polymer bead making skills!!! Oh what fun, because my pasta machine decided to go ape and comk out on me so I had to roll and cure by hand!!! Not good with arthritis like mine... BUT, it was worth it. Trouble is, I only thought of taking photos when I was part way through!!! So above is the result of a large flower formed of several sticks (six from one roll to make petals with inlaid lines, and one central stick). The original roll was about 2" across and 2" in depth. I squeezed and rolled to make the different size canes you can see below, close up.

 I think it is so clever that the clay stays where you place it, basically!!! I think I will inlay the stipes for the petals deeper next time, as they got a little lost as the cane got smaller in diameter.

 Above is the wonderful mixture of the clays left over, twisted and rolled, twisted and rolled again, to marble them together. I added some transluscent so they will glow with more depth when baked....

 This is the finished bead cane, with lovely marbled effects and then I cut off half inch bead pieces of about quarter inch diameter. Big boys then!!! Yes, big beads as you can see below...

 Oh they are yummy, arn't they??? I love all those swirls and twists. I noticed how different they were if you closed up the ends first before rounding off... the swirls were vertical through the piece and showed up if left without pinching.

 This photo shows the little cane and tiny flowers I added to those beads. They are about quarter of an inch across and just thin slivers added to the main bead

When rolled and smoothed, the flowers integrate with the rest of the clay and look so pretty... I want to have a go with other colours next. I shall string them on pins with header beads etc then add each one to the next via a short length of chain to make a long necklace. There are some great demos on YouTube, and I will add the link I liked best when I have more time... Just off to do the horses with Freddie, so, thanks for looking and happy WOYWW this week... for those not yet au fait with that, here is the link to the wondrous blog that is Julia's Stamping Ground

Happy New Year
With Love and Light
Frankie
xx

Wednesday, 22 December 2010

WOYWW - Lots of Projects

Here  I am again with my latest WOYWW. Please go and see Julia's wonderful snoopy blog at Stampimg Ground, if you are wondering what I am on about!! Thanks for your great idea, Julia, I love the premise and glad to have found you!! So this first picture is from my bedroom window, over the conservatory roof... uhgg!!! I HATE snow, even though it looks pretty...

Ok... here we are at the VERY end of my desk... finally I don't have a scrap of room left, and MUST have a tidy at some time very soon!! But I have been busy. I have tried to keep going so as not to mope too much in the dismal, dark, cold days. I have been very creative and tried different things out. This book was inspired by one I found on YouTube - Followthepaperertrail... clever to use envelopes and a shape as a hinge - all will be clear in the inside pictures below. I find her work really inspiring and very easy to follow.. well worth you following the link!!

There are three roses here made from grunge paper and Christine Hellmuth sticky back canvas (the large one in the middle) introduced to me by the creative Jo at Jozarty. I sprayed them a la Tim with color wash and Glitz Spritz so they are deep in colour and wonderfully gleamy (ooo is that a word???) The others are Petaloos from my friend Cynthia aka RainbowLady, sent for my birthday - taa!!!

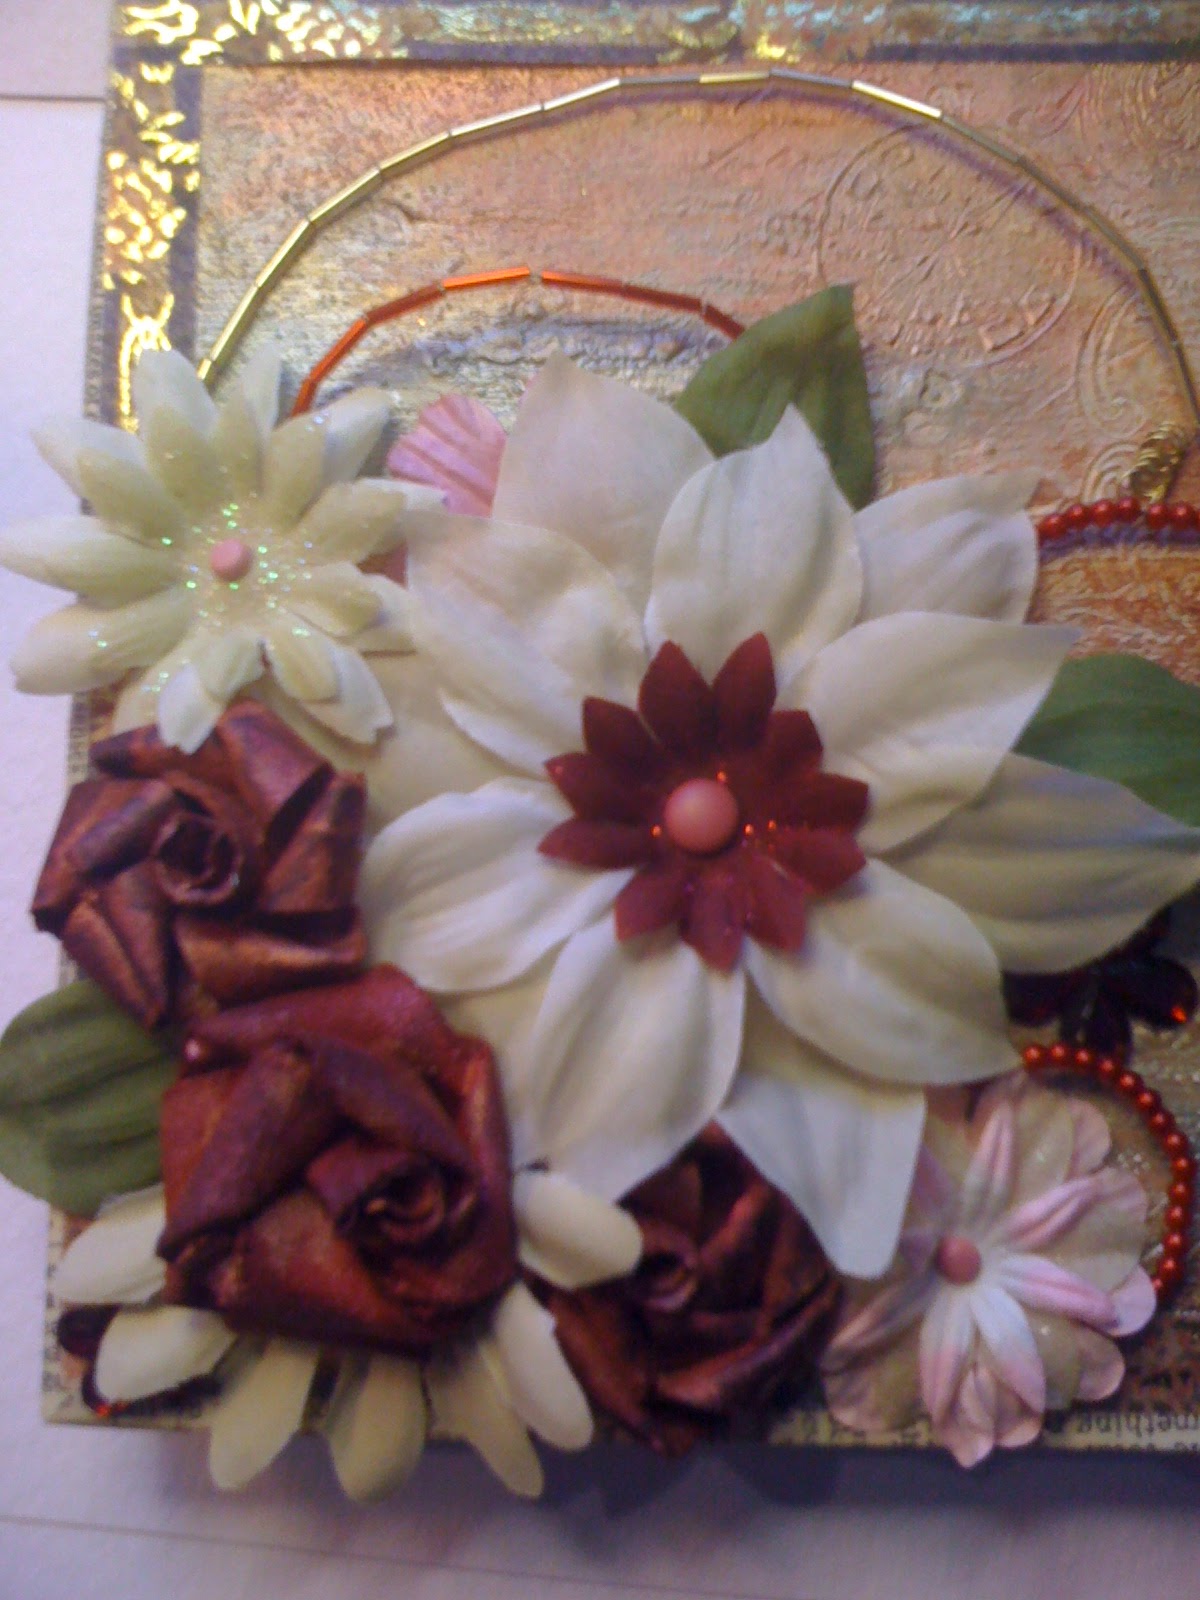
The sprays are beaded wires, and the background of the book is created with a technique showed me by Leandra at PaperArtsy. I used a piece of the sticky back canvas and spead sahara Terra in places, then stamped into it and coloured with Eco paints. Really interesting but must try it again to get it better...

 Here is an inside, with 2 blanks to add photos and journaling. You can see the tag centre which forms the hinge on each page - made from the C5 envelopes...

 This is the other side of a page. I used such yummy papers from Sir Tim and PaperArtsy. They are both double-sided so there will be plenty of space to decorate... the central tag hinge is only stuck at the centre so other tags can slot in there too...
 I then found a wonderful design for a Tree of Life pendent on YouTube... there are many interpretations of this and here is mine. I used chips of amazonite for the leaves and some little beads that sparkle as it moves.

 It is about 2 and a half inches across, so quite large. I will try another one a bit smaller and would like to make some earrings too... It only took about 2 hours to wrap, and was fun to do.

 Here is the card you saw a sneaky preview of last week... it was for the Stampman challenge, and you still have a week to go if you want to enter with a chance to win some fab goodies... Jill is always so generous with her prizes!!! The card below was made for a man who is a friend of mine with a birthday last week... he loved it. It is made from an image of the cover of Sir Tim's bits and pieces... I decoupaged some of the sections.

I have had a lovely crafty week, but it has not helped me be ready for crimble one bit!!!!Never mind, it will happen when it does!!! Mum is having a paddy and will prbably not come, but she is getting worse with her memory and might be ok when I ring her today!! Have a great week and a Merry Christmas and a Happy new Year when it comes.
Thanks for looking and for your support this year
Frankie
xx

Wednesday, 15 December 2010

WOYWW - Sneaky Preview and a Couple of Pressies

 This is a sneaky preview of my lead DT offering for The Stampman Challenge this time. The theme is "Anything Goes" so I did NOT choose crimble this time, but something more romantic!!!  Sorry the picture is so fuzzy!!! Below are some of the stamps I used, mostly Aspects of Design 1... I LOVE the net you can just spy here... The tag will be posted Friday, if you are interested to see the whole thing!!??

 I LOVE this lady too, I think she is from a Nonsequitur plate from Jill. As always, here are my distress inks with their new pads for distressing edges etc... it's working well as a system, when I can find the right one... got to think of storage now... any ideas guys???

 Been making some more of those key/handbag fob/charms... for my hairdresser, nails girls and daughter's bloke's two children... oozy technique here on the heart, through the punchinella... The amber pendant is UTEE.

 Here are more, draped over a convenient bottle with another oozy heart, this time through angelina fibres!!! I am loving friendly plastic at the moment. Here is also another hint at the DT tag, right at the front - I have done some decoupage...

Here is another friendly plastic piece with some cool flowers, and the hint of another technique I have been trying out - see that silver and copper swirly "bead", well that's done in wire with my new twirler!!! Still mastering that one!!! I did my wire winding by hansd until very recently when I treated myself to the little machine...


More flowers on this one, and hand-made, clay beads in a soft pink for the boyfriend's daughter. There is a horse charm on here too, as she rides...

This last one is done in ep and uses the Elusive Images feather from the peacock plate. I want to say how sad I am at the demise of Graphicus, as I admire Glenda immensely and the designs they come up with... had a fantastic weekend recently which was very inspiring... let's hope they rise like the Phoenix...

So my desk is quite busy this week and will be more so as I have 2 birthday cards to make and a set of drawers to decorate... well the cards are a MUST but the drawers might wait till after crimble!!! Depends how much I can summon up from the depths... Thanks for all your well wishes last week about my SAD... shortest day coming up, hurrah!!! Thanks for looking and please visit the ineffable Julia's blog if you are wondering what on earth I am on about!!!
Frankie
xx

Wednesday, 8 December 2010

WOYWW - Getting There for Christmas!!

Well, I have managed another WOYWW week, despite being snowed under(!!! but not literally!!!). I am really having problems with my S.A.D. at the moment and am really trying to get more light with my lamp to keep going... So I am pleased to have finished my cards and to have got some of my presents organised. I have also had some goodies delivered today, including the TH tag die which I have been wanting for ages, so Christmas has come early for me!!!

I have used one of Sir Tim's stamps for the main image, and the insert is stamped with a Crafty Individual's stamp. You can just see one at the top left corner of the photo... The Angelina fibres are such a pretty mix of blues, but don't really show up in the photo. I have finally sorted my distress inks too, and have made an individual pad for each one, instead of a silly little bit, mixed,with some other colour!! The insert is a photocopy of my handmade paper, A4 then cut i half. It works quite well...

I began designing this when I did a DT piece for the Stampman a couple of challenges ago... I am pleased with the final card and Freddie likes it too, so that's good!!! There are a couple of small shafts of light falling on the card... it is a lovely, sunny day so I shall be here in my craft room most of the day, as the sun shines in all the while, as it faces south... If you are wondering what I am doing showing my desk, just pop over to the admirable Julia's blog to see many, many more!!!
Thanks for looking
Frankie
xx

Friday, 3 December 2010

Stampman Challenge - Three Colours

This time, the challenge at the Stampman is to use only three colours. Here is my DT offering, using distress inks in pink, blue and purple, just to be different from crimble colours!!! I masked the Judikins stamp stamp so I could put images inside... then smooched round the edges and sprayed with water to make texture... why not join as Jill always has fantastic prizes, and my fellow DT members have done some great pieces for inspiration...
Thanks for looking
Frankie
xx

Thursday, 2 December 2010

Satisfying Success at the Christmas Fayre!!

 I have been a;tering dominos this week and really enjoying the difference when you only have a small space to work in... a bit like when I was introduced to ATCs or Inchies, Twinchies and so on... Above I covered it with friendly plastic and embedded wire into it. My cleaner has bought this set for her sister's Christmas present, how about that!!!??

 This one used a beautiful little floral stamp and I added the hanzi Chinese characters. I coloured it with promarkers, srtung it on black cord and wrapped my own findings wit copper wire. Really enjoyed doing this one.
This purply one uses a fab freebie stamp from PaperArtsy plus a music section from a different stamp... I coloured the background with sailboat blue and purple alcohol inks and also altered the colour of the bead to match...

So that's what I have been up to as well as selling some of my stuff... well I sold eight pieces yesterday, some key/handbag charms and some earring and necklace sets!!! I was SO chuffed. I was in a funny room with bric-a-brac, kids' toys and a bouncy castle, but lots of people mentioned how pretty the pieces were and I was really happy with my sales... I also met a few really nice people, so it was a very satisfyling success...
Thanks for looking
Frankie
xx

Wednesday, 24 November 2010

WOYWW - More Bits and Pieces

Here I am back again, having missed last week. I am really enjoying the stuff, but putting off Christmas so far!!! Welcome to my desk, and I hope to visit many of you this week. For those of you who don't know what we are on about, please visit the wonderful blog of Julia at Stamping Ground.

I have been making some key fob and handbags thingies and you can see them altogether above. These are the first ones, so I am making like crazy because the Christmas Fayre is happening next week, at my daughter's school, and I am having a table, hoping to sell some of my jewellery and these fobs... the staff is already interested so I might not get to the public!!! Hope also to get some orders, well, we'll see...

 This one has a rough theme of time... so clock, sun, moon and stars etc. I made the pink beads from clay and threaded them with gold coloured metal ones to complement the gold leaf which was embedded in the mix.
 This one is flowers, shells and fish. I used clear beads to echo the idea of water. The tag is stamped on the back. The picture is from a Crafty Individuals pad.

This one is very vibrant, mostly tourquise beads and friendly plastic. The back of that heart has a picture of a marriage and a lock and key to the hearts finishes off the piece. I hope the people like them... What do YOU think???

 Here is the beginnings of another project - keys and cogs etc ready to start a steampunk bracelet, threaded on the circles chain... Below are the bags of goodies, ready to take for sale next week. I just have to decide on a way to display my stuff, as I have never done anything like this before!!


 Off to finish off another fob, with leaves and insects. Then to post my tag for the TIO challenge on my DragonsDream blog... had a couple of great pressies lately, so if you entered last time, keep a look out for the winner!!